|
Techniques for
Attaching Wings
by Floyd
S. Werner Jr.

HyperScale is proudly supported by Squadron
Somebody recently asked on HyperScale's "Plane Talking"
Discussion Group how to glue wings to the fuselage. What follows is my response
that may be useful.
Here are some methods I have used to join a wing to fuselage. As
everyone I'm sure has a preferred method these are just different ways to do it.
Techniques
for Attaching Wings |
Method 1-Dry Fit, Dry Fit, Dry Fit
Do not apply any glue until the join fits on it's own. Then
apply a small amount of liquid cement to the join. Let capliary action work for
you. You will need to glue the join in various places dependent on the size of
kit. Now don't press the joint except to slightly align the join, if necessary.
If any of the slurry (cement and melted plastic) squeezes up
don't worry about it. Once it dries you can easily remove it with a hobby knife.
If you don't like the way the area looks or the alignment remove the wing and
allow the surfaces to dry and try again. You may have to sand the mating
surfaces if you do this. A sanded joint glues better than one straight off the
sprue.
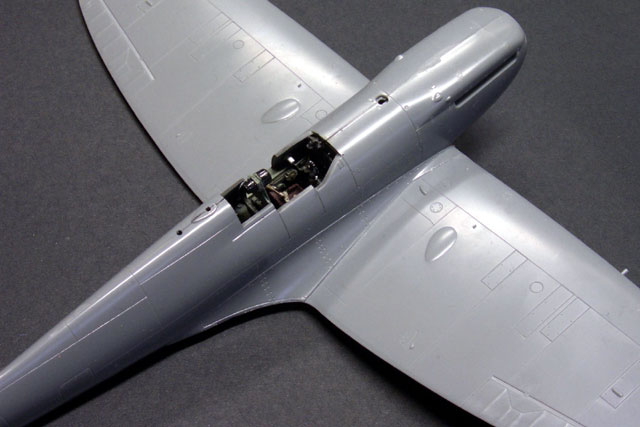
Method 2- Top Wings to Fuselage
Attach the top wings to the fuselage root PRIOR to building the
wing assembly. Once the upper wing is glued with the fuselage, using liguid
cement. This method allows you to glue from underneath the wing. It requires a
little bit of patience but this is the best way to get a good root. The drawback
is that there may be other areas that will need to filled. One advantage to this
method is that you can establish the dihedral (angle) for the wings easily and
accurately. Once the upper wings are glued and dried ( I wait a day)then attach
the bottom wing assembly. You can reinforce the join with superglue on the
underside AFTER the join has dried. DON"T use accelerator though as this will
react badly with the liquid glue join. You may have to attach one wing at a
time.
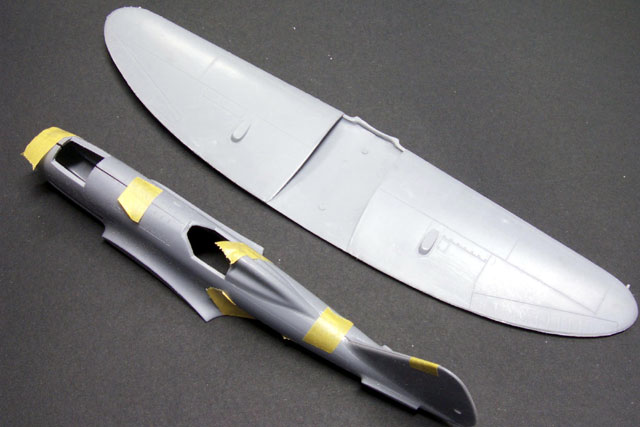
Method 3 - Tape-Fixed Dihedral
Build the wings and fuselage as normal and then tape the wings
to the fuselage. This sounds like the method you have used, but before you apply
any glue apply tape from wing tip to wing tip across the fuselage.
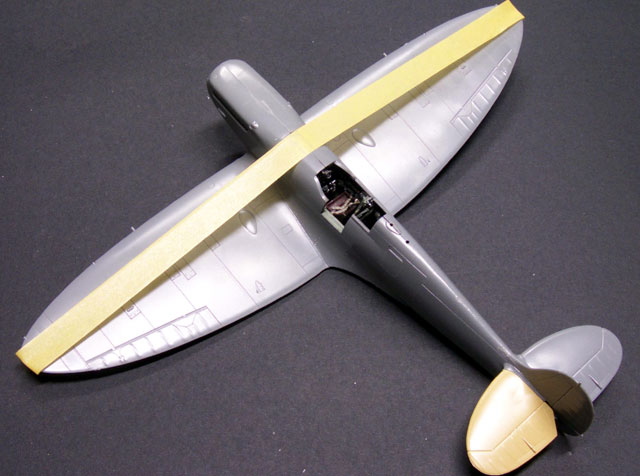
Now, before you glue, align the wing root and when it is finally
perfect apply the glue to the root first. Then after it has dried you can apply
the rest of the wing to fuselage joint.
A Note About Glues
I use Testor's Liquid Cement or Tenax 7 Liquid Glue. Your choice
of glues may be limited, but MEK or Toulene (both harsh chemicals) can be used.
Personally, I'd stick with Testor's or Tenax.
Apply the liquid glue with a narrow long bristle pointed brush.
Don't use a synthetic brush as it may melt with the glue, use natural hair
brushes. I cut the applicator brush out the Testor's before I use it. It is too
big to use.
These methods have worked for me. Patience is the common
denominator. Don't force a wing into position as it will crack or break right
after you put on the paint or at some other inappropriate time!
Practice and patience are the keys. I hope this helps. Let me
know how it turns out.
Text Copyright © 2002 by
Floyd S. Werner Jr.
Images Copyright © 2002 by
Brett Green
Page Created 20 May, 2002
Last Updated
19 April, 2004
Back to Reference Library
|
 Home |
What's New |
Features |
Gallery |
Reviews |
Reference |
Forum |
Search
Home |
What's New |
Features |
Gallery |
Reviews |
Reference |
Forum |
Search