|
The Hinge Method
by David Lochead

HyperScale is proudly supported by Squadron
Introduction
This is the first in a series of small articles dealing with resin kits, the problems that can arise with them, and how to deal with these issues quickly and efficiently.
I have used the Kiwi Resin 1/48 Commonwealth CA-15 kit as a useful example for several reasons.
Firstly it has an unusual breakdown of parts that requires care and attention to achieve a good result.
More conveniently, as it is my own kit, I was able to use all the reject parts for a build rather than throw them out.
This build would then represent a typical resin kit at the worst end of the spectrum, as the reject parts have air bubbles, warps, and short shots to deal with. It should be noted this is NOT a typical Kiwi Resin kit, rather I have used these parts for educational purposes.
The first technique I will cover is something I call the hinge method.
Many modellers would have experienced parts being assembled misaligned because the superglue that is typically used in this application has gone off instantaneously. This technique minimises such a problem.
The Hinge Method
The image below shows the removal of a moulding block using a small angle grinder with a sanding disk locked in it.
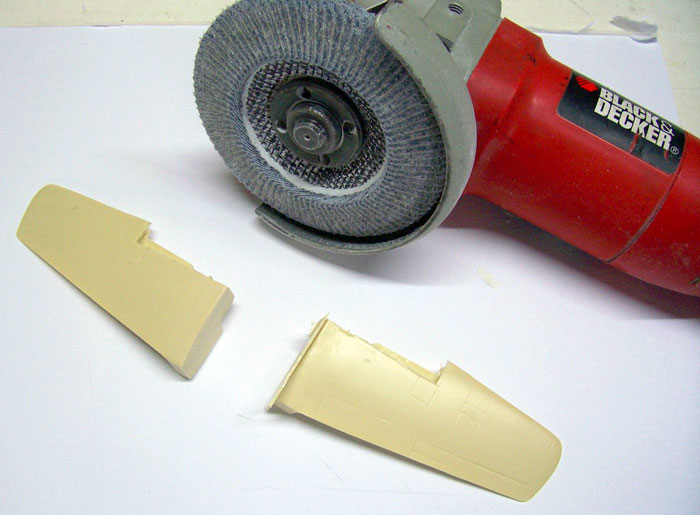
While this is outside the scope of this article, it does illustrate one technique I use to remove large casting blocks from resin parts.
A word of warning, an angle grinder is a very efficient tool, and removing too much resin will result in an undersized part and the need to shim accordingly.
More importantly, the resin dust produced is a HEALTH HAZARD! And good mask needs to be worn to stop inhalation of said dust.
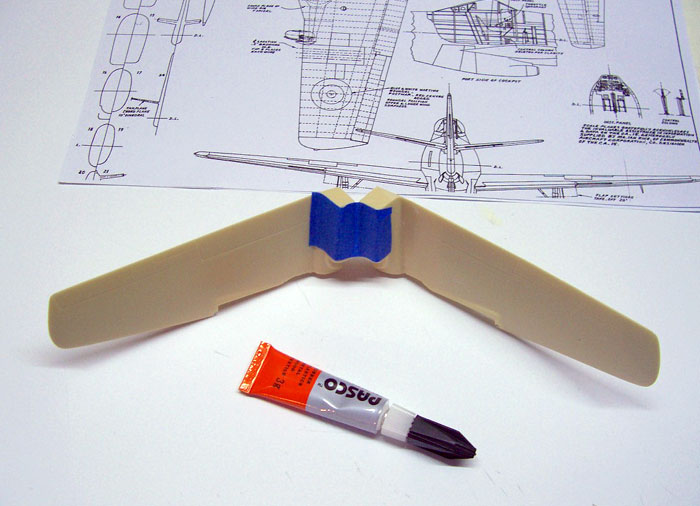
Here we can see the prepared wing halves hinged together along the join using a good quality tape. This minimises the halves shifting during the glue process.
Always double check to make sure the parts are aligned in all planes before proceeding.
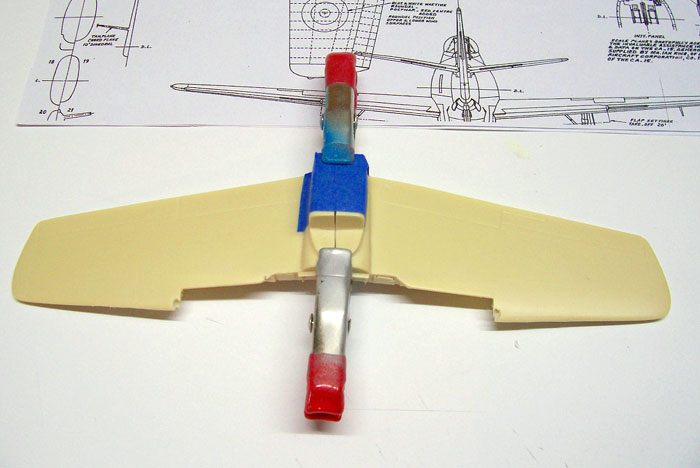
Here are the wings joined using superglue gel and clamped lightly to ensure no movement occurs.

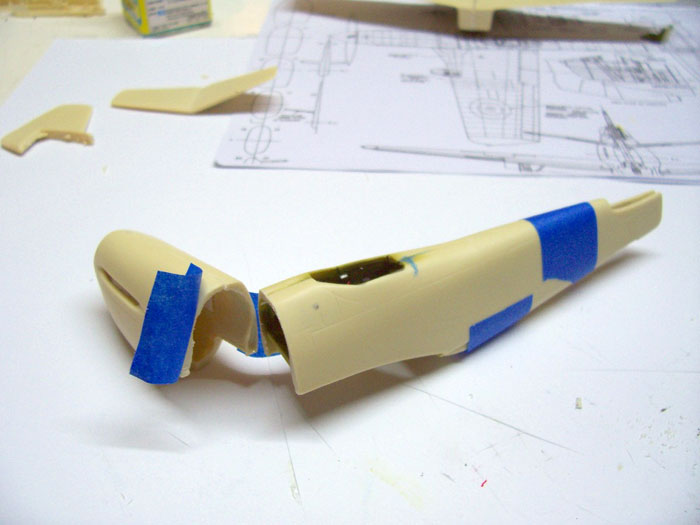
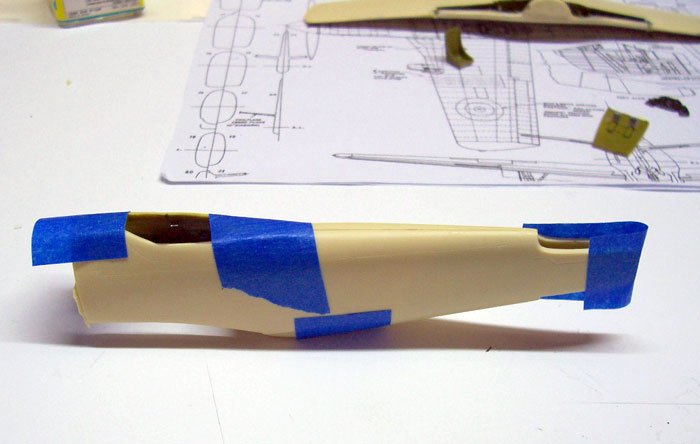
I have prepared the fuselage in a similar manner to the wings, with the hinge tape applied at the sternpost. Note that one fuselage half has had tabs of tape pre applied in order to hold the fuselage halves together immediately.
When using superglue, time is of the essence, and pre planning is a good idea.
The fuselage halves have had a bead of superglue gel applied, and they have been joined.
I recommend that particular care be paid to the top join being aligned and having no step, as it is easier to disguise a bad joining on the lower fuselage .
I also allow the superglue gel to ooze from the joint, and do not remove it, as it is an excellent filler material, and can be sanded nicely if not left too long to harden.
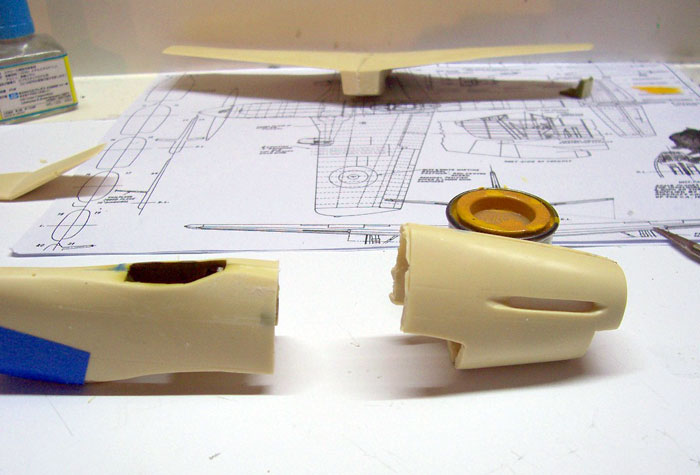
As the CA-15 kit has a separate nose, the same technique is used to assemble it, and it is then checked for fit, and glued to the fuselage in fig 7 using the hinge technique as well.
This may seem like a simple system, but it makes life a lot easier than juggling with bits with superglue on them and trying to line everything up before the superglue cures.
Text & Images Copyright © 2008 by David Lochead
Page Created 13 January, 2009
Last Updated
13 January, 2009
Back to Reference Library |
 Home |
What's New |
Features |
Gallery |
Reviews |
Reference |
Forum |
Search
Home |
What's New |
Features |
Gallery |
Reviews |
Reference |
Forum |
Search