|
The Spanish School Part One
Painting Cockpits
by Spencer Pollard


HyperScale is proudly supported by Squadron
After reading so many comments posted about my Revell Ju 88 on Plastic Pics, and then attending my model club where I was also asked plenty of questions about it, I thought that a very simple tutorial might help answer some questions on the 'Spanish' style that I use on my models.
This system has been used for years now by such wonderful modellers as Juan Villalba and Daniel Zamarbide (who both paint like a dream...) and as such, really helps pop out detail and make it visible within the dark confines of a miniature cockpit - which can often be difficult with more traditional methods.
It's not to everyone's taste, but I really like it and I spend in inordinate amount of time trying to perfect its look!
To do this I've used a simple sidewall from a Hasegawa 109 and though I painted this very quickly this morning, the pictures will give a fair idea of the basics of this technique. When building a model for MIS I would use these ideas, but spend considerably more time on it to make it a neater and more involved, but everything that you see in the pictures was used in both the Me110 and the Ju88. The only difference - this piece took half an hour to paint - the others a few days!
I hope that this helps and that you feel suitably inspired to have a go for yourself! Any questions - let me know!
Painting Cockpits the Spanish Way
Here's the basic plastic part...
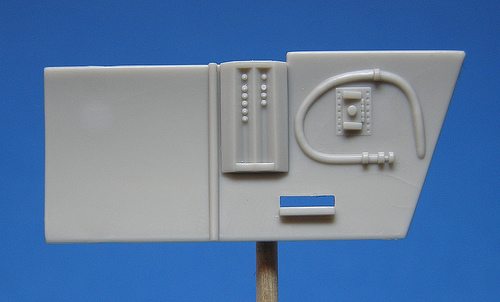
A basic coat of grey has been applied using an airbrush. The colour was chosen to clearly show off the technique rather than being an accurate shade.
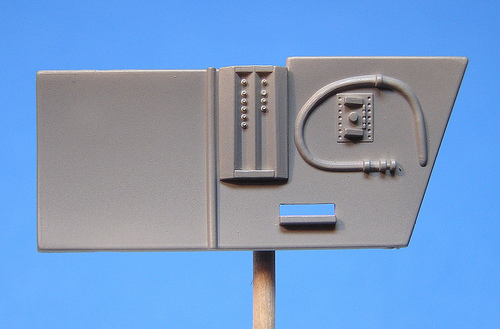
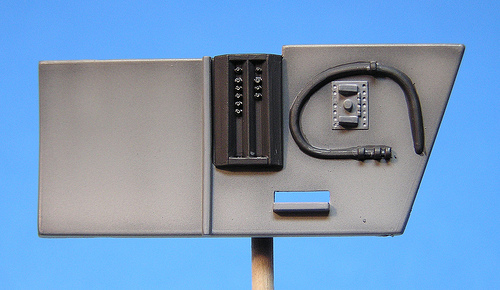
Shadows are airbrushed around detail using a [i]very[/i] thin mix of dark grey and black acrylic thinned with lacquer thinner.
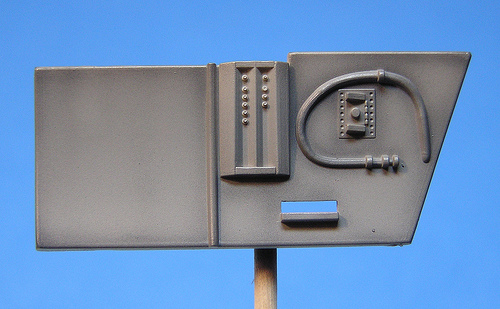
Details are basecoated in black using thinned Vallejo acrylic.
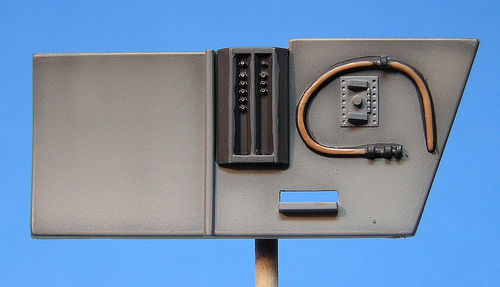
Ribs and panels are 'highlighted' using Vallejo Light Grey. This produces a more definite appearance than using drybrushing and really helps specific details 'pop'.
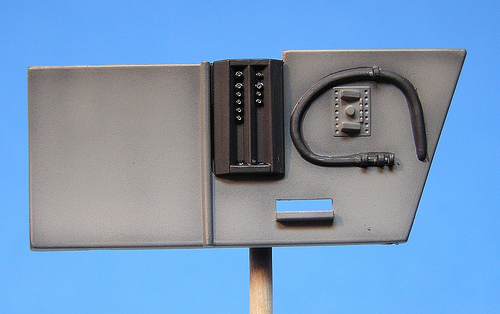
Edges were highlighted with grey, the hose being highlighted with brown. Note how the brown is only applied to the upper surface of the hose by using the side of a paintbrush rather than the tip. This allows the underlying black to show through and thus creates a more three-dimensional appearance. More time would produce a neater finish!
Details are picked out using more Vallejo acrylics - not to mention, Games Workshop's wonderful metallics
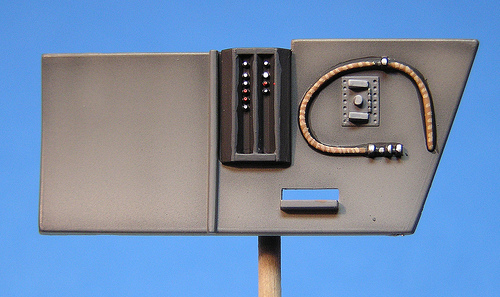
Further details such as placards can be added using acrylics and a very fine brush - the same system being used to produce some delicate paint chips

The panel is given some delicate oversprays of very thinned Red-Brown/Black to tone-down the chips and add a little weathering
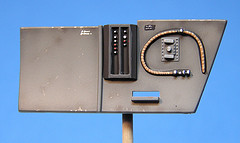
And here's the panel slightly larger than full-size; note how the effects tone-down considerably when seen 'actual size'...
Text & Images Copyright © 2008 by Spencer Pollard
Page Created 13 January, 2009
Last Updated
13 January, 2009
Back to Reference Library |
 Home |
What's New |
Features |
Gallery |
Reviews |
Reference |
Forum |
Search
Home |
What's New |
Features |
Gallery |
Reviews |
Reference |
Forum |
Search