|
Stressed Skin Effect
for model
aircraft
by Klaus Herold

HyperScale is proudly supported by Squadron
Some of HyperScale’s visitors have asked me to explain how I
produced the surface detail on the Fw 190D-9 that I posted recently
to the Plastic Pics forum.
I had read about reproducing stressed skin effect and decided to try
it out. As I was not satisfied with the method as described, I
worked out my own, which is a bit more work but gives you much nicer
results.
Here we go:
1. What Do I Need
First, you need a good rivet plan of the plane that you are
planning to build.

You will also need:
-
a scalpel with a round blade
-
some Dymo tape
-
an overhead pen
-
wet-sandpaper grid 1200
-
a proxxon or Dremel tool with a
polishing attachment
-
a pair of compasses with two
needles (for measurement)
-
a ruler
-
and Petr Dousek's "Rosie the
Riveter" tool for 1/32 scale models
2. How Does it Work with "Herold's Method"?
Draw all rivet lines onto the part.
Measure only on one side and use your judgement to place the Dymo
tape in the right position. This will give a better result as if you
would measure on two sides.
If you work on wings, start on the
bottom to practice and always do both wings at the same time (on
line on right wing... same line on left wing). This will make them
look the same and you cant forget anything.
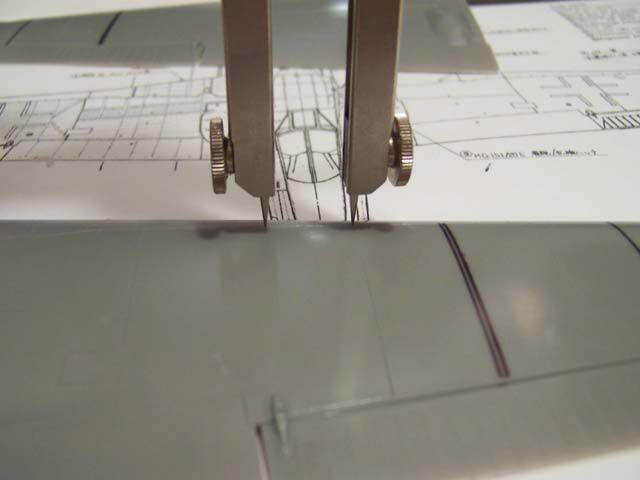
With the ruler, you measure everything out. Always use your panel
lines as orientation points. If you see four rivet lines between two
panel lines measure the distance between the panel lines and divide
it by four. Then you know the distance you have to mark with the
pair of compasses.
Use the Dymo tape as guide for your
pen
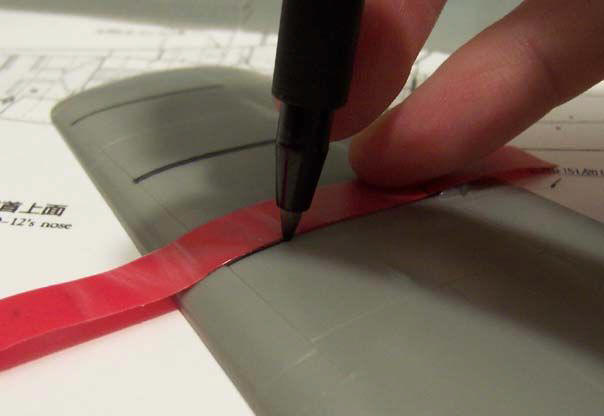
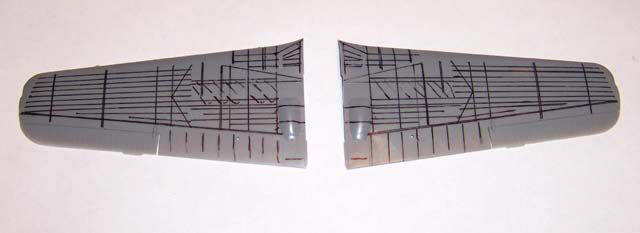
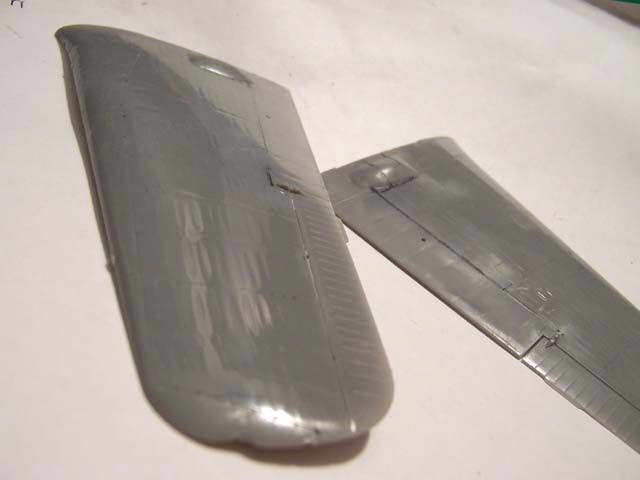
All lines are drawn. The part in the
middle which seems to be a bit confused, didn't get a stressed skin
effect cause the rivet lines are too close together.
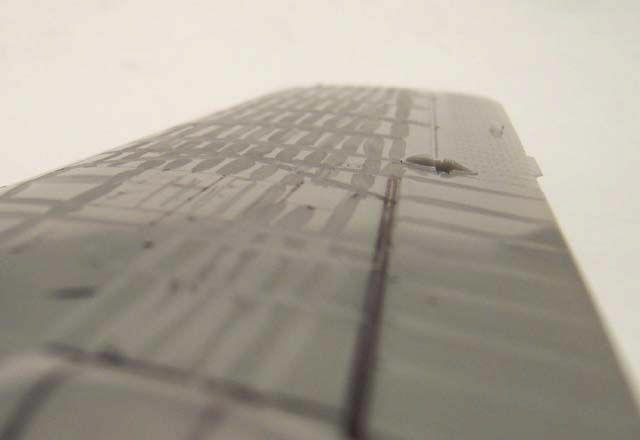
Now use your scalpel to make little
sink marks between the lines, first the long ones and then the short
ones. You will hate the short ones, I promise!
It is enough to run your scalpel 7
times along the lines. you will get a feeling for it soon.

Here its finished. Note that it is
very important not to follow your intention to do the lines that go
from front to rear of the wing, in one pass. It might be less work
but wouldn't give the desired look.
Now sand everything wet with 1200
grid wet-sand paper. Don't use lower grades. It will work just fine.
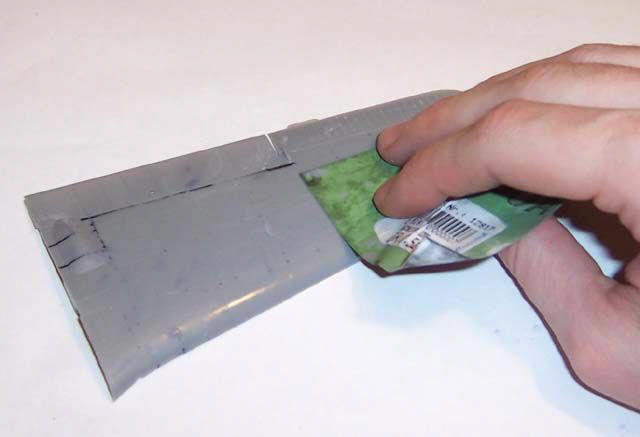
Here is the sanded wing.
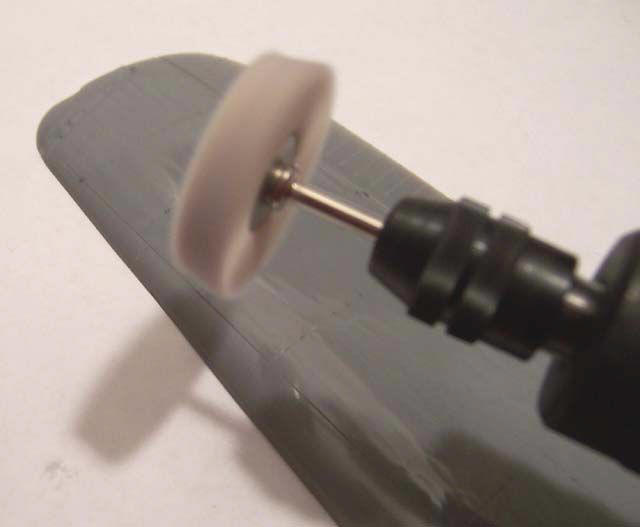
To check if there are any big
scratches left, you can polish the surface with the Dremel tool.
After seconds you will think your plastic has turned into metal -
just great!
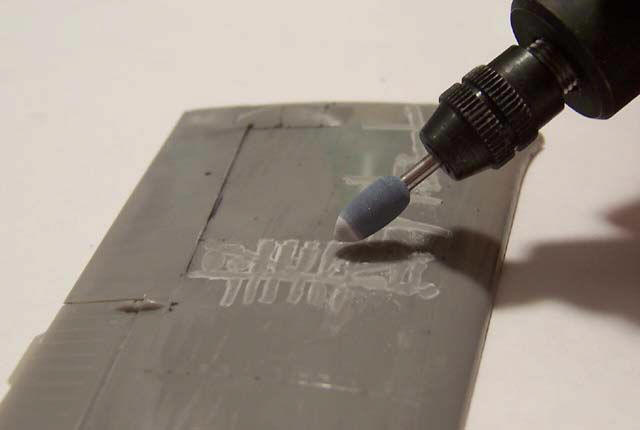
Any remaining scratches may be sanded
away with the latex polishing tool that comes with the proxxon. (I
am sure there are similar products for all kind of mini drilling
machines).
Polish again to check the result.
Looking fine now...
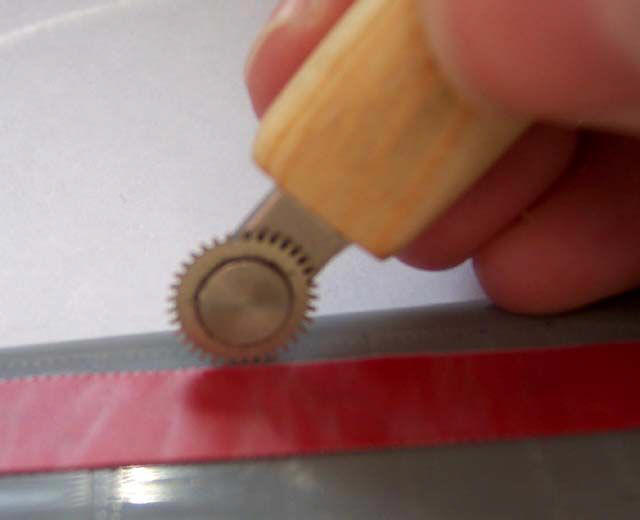
Now you measure again and draw all
rivets into the recesses with "Rosie the Riveter" guided along Dymo
tape. If you worked accurately from the beginning on the rivet lines
should be all on the deepest point of the depressions.
After doing all the rivets I sanded
with 1200 grit sandpaper again and polished the wing once more to
see the results.
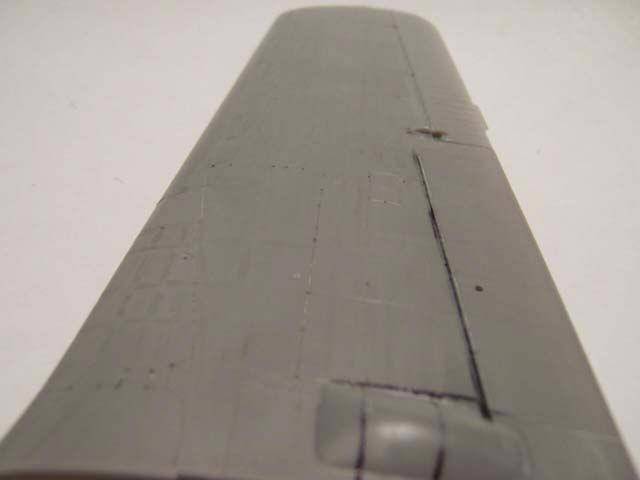
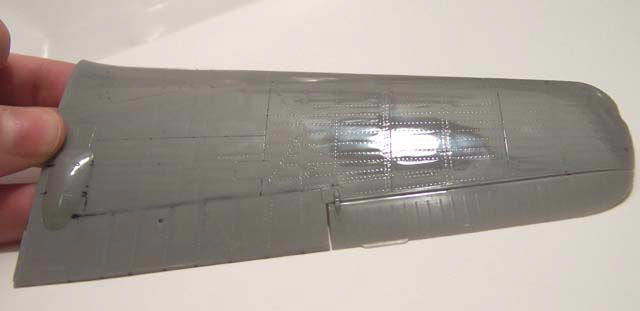
Here we go... a finished wing with a
beautiful stressed aircraft skin effect and not a single scratch.
You don't need any Mr Surfacer and you don't have to be afraid that
your rivets will be gone because you did the stressed skin effect
after riveting.
I hope this description of how I did
the stressed skin effect could help a bit.
Most of the required work is polishing out scratches that occur when
you hold the scalpel at a bad angle. If you approach a stressed skin
effect with my method there is only one rule - NO RUSH - then you
will be faster.... believe me.
Give it a try!
Model,
Images and Article Copyright © 2005 by
Brett Green
Page
Created 12 August 2005
Last updated
12 August 2005
Back to HyperScale Main
Page
Back to Features
Page
|  Home |
What's New |
Features |
Gallery |
Reviews |
Reference |
Forum |
Search
Home |
What's New |
Features |
Gallery |
Reviews |
Reference |
Forum |
Search